

Leaky faucets are more than a minor annoyance: the constant drip is wasteful and can signal a problem that will worsen if left unaddressed. If you notice a steady drip or a small pool of water around your bathroom or kitchen sink, it’s time to take action. Below we cover common causes of leaking faucets, how to diagnose the problem, and step-by-step repair options you can try at home.
What Causes a Faucet to Drip?
Faucet leaks usually stem from worn or damaged internal parts. Over time regular use and mineral buildup from hard water wear down seals and moving parts, which leads to dripping. The most common causes are:
- Damaged or clogged aerator
- Worn or corroded valve seat
- Loose parts in the assembly
- Worn or loose O-ring
- Damaged cartridge or stem
There are four main faucet types—compression, cartridge, ball, and ceramic-disk—and the repair depends on the type. Compression faucets use rubber washers that seal the valve seat and need replacement when worn. The other types use O-rings or neoprene seals that may need replacement or repositioning.
DIY Plumbing: Step-by-Step Guide to Fixing a Leaky Faucet
Before you begin, gather these basic tools and parts:
- Flat-head screwdriver
- Phillips screwdriver
- Adjustable wrench
- Penetrating oil (e.g., penetrating lubricant)
- Replacement O-rings, washers, or a replacement cartridge (matched to your faucet model)
- Clean cloth or small tray to keep parts organized
Start repairs as soon as you notice a leak—delaying can lead to more extensive damage and the need for professional help. If you’re unsure of the faucet type or the repair, consult a reputable DIY guide such as Family Handyman’s faucet repair guide or This Old House for photos and model-specific tips.
1. Create a Safe Place for Parts
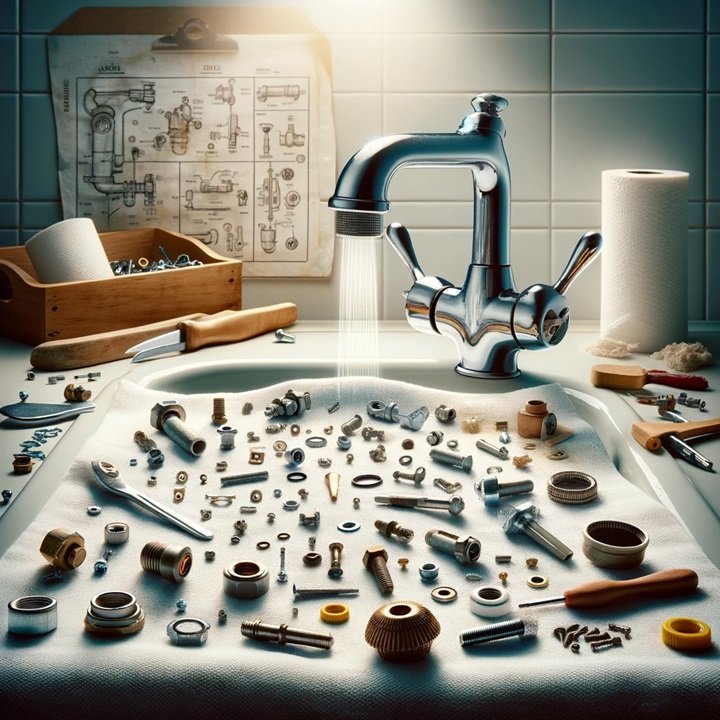
Clear a workspace near the sink and place a cloth or tray to hold small parts and screws. Many faucet screws are tiny and easy to misplace, so keeping everything organized will save time and frustration.
2. Turn Off the Water Supply
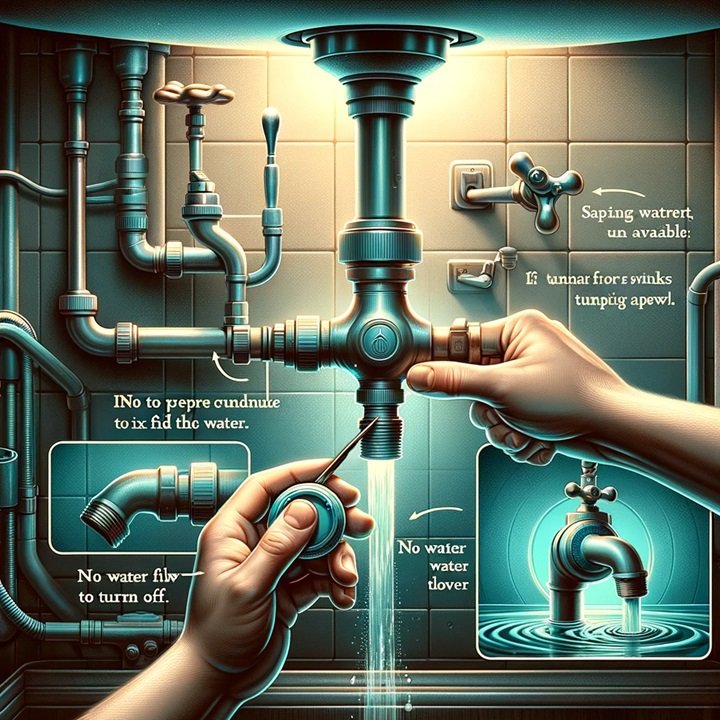
Always shut off the water before disassembling the faucet. Turn the shutoff valves located under the sink. If there are no local shutoff valves, turn off the main water supply to the house. After closing the valve, open the faucet to drain any remaining water from the line.
3. Remove the Handle and Decorative Caps
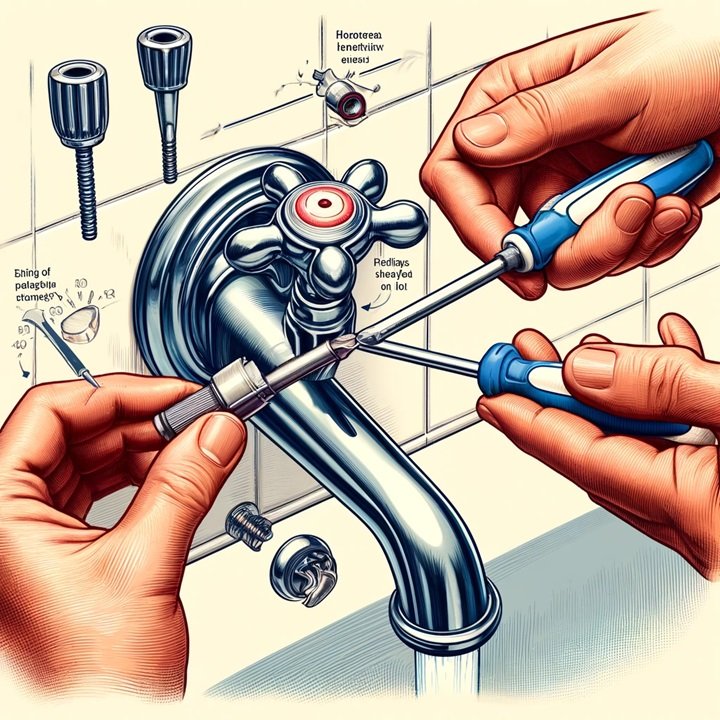
Carefully remove any decorative caps on the handle(s) with a flat-head screwdriver, then loosen and remove the handle screw(s) and lift off the handle. If the handle is stuck, apply a penetrating oil, wait a few minutes, and gently work the handle free. For tub or shower handles, you may need a Phillips screwdriver and to remove a faceplate behind the handle.
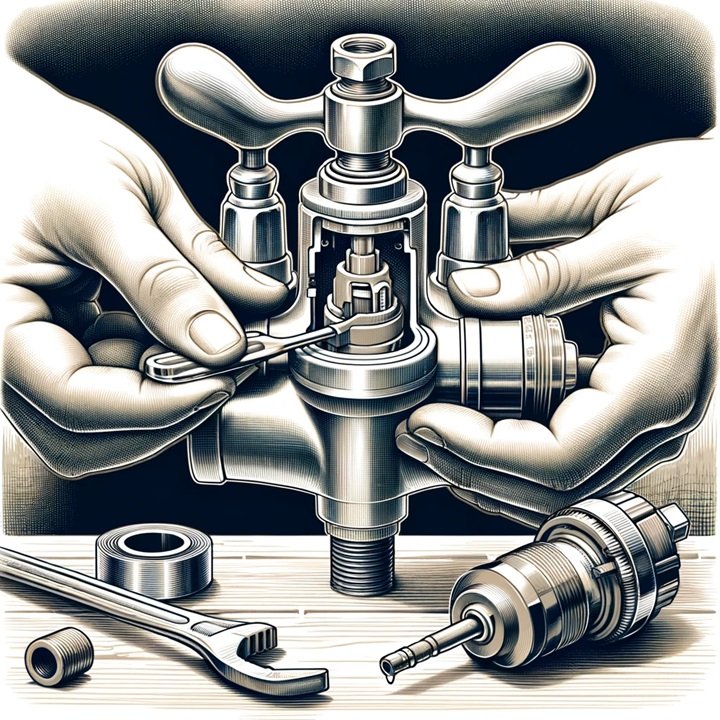
4. Remove the Cartridge, Stem, or Nut
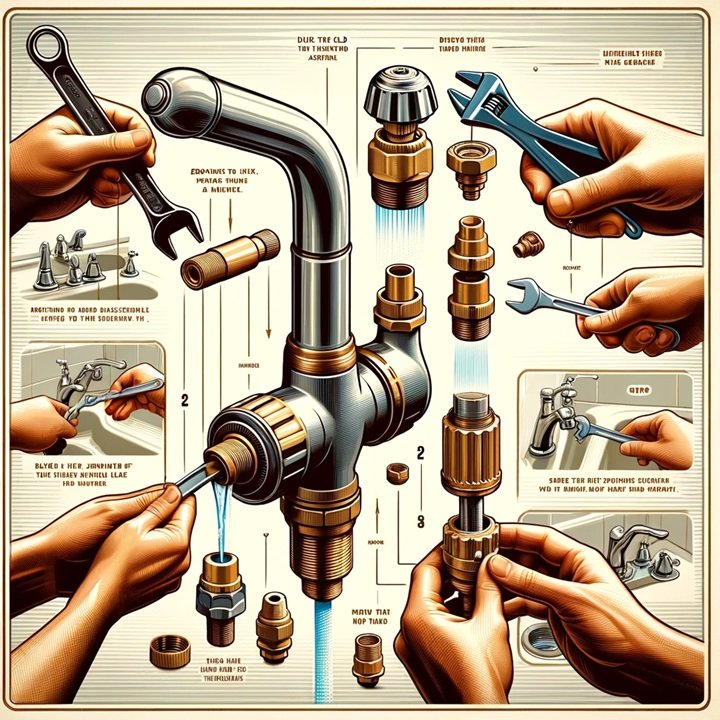
Most two-handle and single-lever faucets contain a cartridge or stem that controls flow and temperature. Use a wrench to loosen the packing nut or retaining nut, then pull the cartridge or stem straight out. Inspect these parts for wear, corrosion, or deposits. Sometimes cleaning mineral buildup solves the issue; other times the part must be replaced.
5. Replace or Reinstall the Cartridge, O-ring, or Washer
If the cartridge, O-rings, or washers are worn or damaged, replace them. Cartridges vary by brand and model, so bring the old part to a hardware store or look up the faucet model to ensure a correct match. In many cases you can clean and reuse the cartridge if it’s not badly damaged—remove mineral deposits with a vinegar soak and scrub gently. Reassemble the faucet, tighten fittings securely (but avoid overtightening), replace the handle, and turn the water back on.
After restoring the water supply, run both hot and cold water for a few minutes to flush the lines. Check the aerator—the small screen on the spout’s end—for buildup; remove and clean or replace it if flow is uneven. For conservation guidance and how leaks impact water use, see the EPA’s WaterSense resources: EPA WaterSense.
When to Consider Replacing the Faucet
Sometimes a faucet is too old, corroded, or damaged to repair economically. If you’ve replaced worn parts and cleaned components but the leak persists, or if the faucet shows extensive corrosion, pitting, or repeated failure, replacement is a sensible choice. A new, water-efficient faucet can stop leaks, reduce water waste, and update the look of your kitchen or bathroom. For replacement guides and installation tips, see a trusted hardware resource such as Home Depot’s faucet repair and replacement guide.
References


